
2D Game Development – World Interactions: Dialog Raycast
Day 069 #100DaysOfCode
Day 024 #100DaysOfGameDev

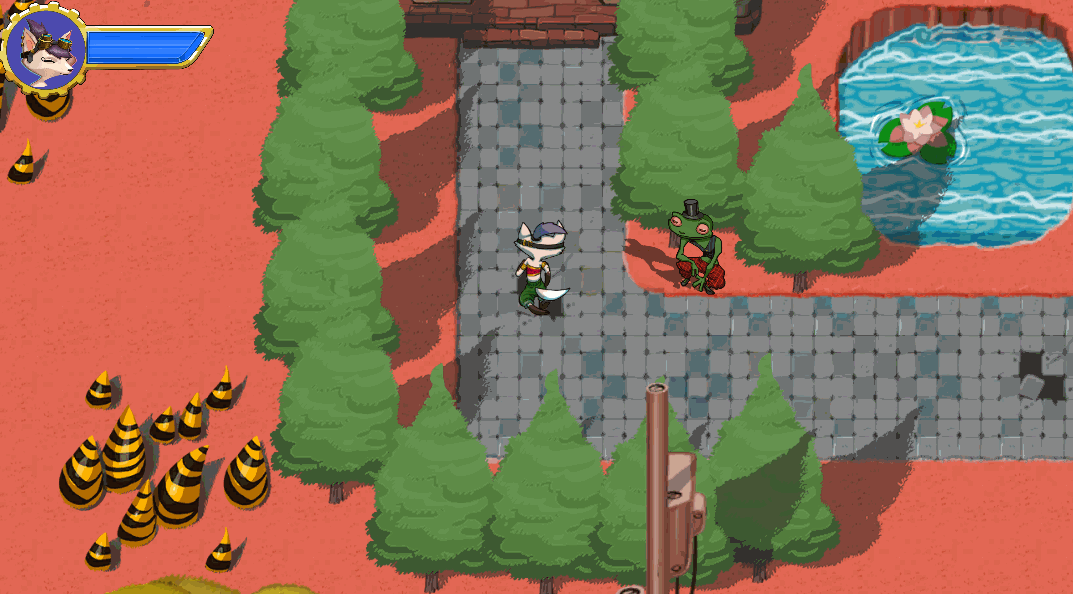
Before being able to have a dialog, there needs to be another character to have a dialog with. Enter Jambi the frog! By slicing his Sprite Sheet, I was able to import him into the scene. After tweaking his Animation to my liking (his blinking was happening too often and too fast), I was finally happy with the result and made him a Prefab.

In order to talk to Jambi, it needs to be known that Ruby is standing in front of him. A trigger in front of the frog could easily identify that Ruby is in range to talk to him, but she could be looking the other way and that would not be believable. To that end, Raycasting will be used. Raycasting is the action of casting a ray in the Scene to see if that ray intersects with a Collider. A ray has a point of origin, a direction of travel, and a length.
In order to cast a ray from Ruby in the direction she is looking, for a short distance ahead of her, the following code was implemented:


To make dialog appear in a small box above Jambi, another Canvas will be used. Create a new UI > Canvas as a child of the Jambi character. Then set the Render Mode to World Space. Resize the new Canvas to a more appropriate size and move it so it appears over the frog’s head.

Then add a UI > Image to the Canvas and resize it to fit using Rect Transform. To keep the new Canvas from appearing behind other objects, select it and change the Order in Layer to a higher value (like 10). Now add a child UI > Text – TextMeshPro to the Image GameObject. Resize it, and add the text you want Jambi to say in the Inspector. Now hide the dialog box by unchecking the Canvas in the Inspector. Time to write the Script that will implement it.

In order to call this new Script, the RubyController script needs to be modified. Remove the Debug.Log line written earlier and replace it with:

And here is how it all came together:


